XYZ Beeld en geluidproblemen oplossen
View the Help page for more information about hte whiteboard, image and audio functionalities.
General audio troubleshooting
- If you have an ultrasound problem, make sure that both participants use headphones. (Please note that iPhone earplugs are not compatible with Macs and there is a chance that the echo will continue to exist. Alternatively you can use the Firefox browser, this browser has a built-in function to remove echoes. You can also enable WebRTC for two participants in the classroom via the control panel. This disables echoes. WebRTC is now on by default for all new classrooms.
- Connect your headphones/earplugs before you enter the classroom, if you connect the headphones after you enter the room and the sound doesn't work, then load the classroom again.\Make sure your headphone/earplugs are properly connected and that you have given the browser permission to use the microphone.
- Try reloading the classroom or use a different browser if you continue to have problems with audio. Chrome and Firefox work best.
- When you speak in the classroom you will see a red bar below your video screen. This is your audio volume bar. You will also see a red circle underneath your video. If you don't see these two, the classroom can't find your microphone.
- When the other participant speaks you will see a green triangle below his/her video screen. See the triangle but you can't hear anything and your headphones won't work. Try to reload the classroom and check if your headphones/earplugs work properly or are set up correctly. (Tip: Use a YouTube movie to see if your headphones are working properly).
- If the other user indicates that your voice is lost or almost inaudible, check the volume of your microphone. The microphone volume is indicated by a red bar and can be found under the video screen. When you speak, the bar should fill at least 50 percent. If this does not happen, adjust the volume of your microphone.
Chrome microfoon/webcam permissions
When you enter the classroom, Chrome will open a pop up asking you to give permission to use your microphone and camera.
.png)
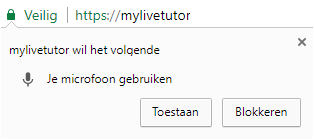
Click 'Allow' to give Chrome access to your microphone. You only have to do this once. Chrome will then remember this setting.
To change your settings, after you have given permission or not, click on the camera icon in the url bar:
.png)
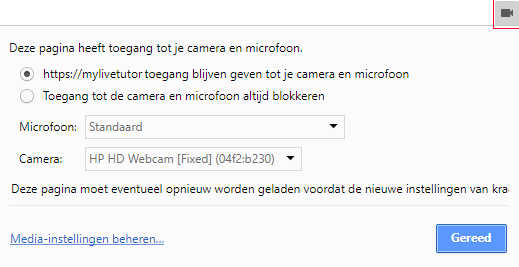
Here you can set another microphone (if you have more than one on your computer). If there is a red X through the icon, click on it to allow the classroom to use your microphone or camera. You will have to reload the page
Firefox microfoon/webcam permissions
When you
enter the classroom Firefox will open a popup asking you to give permission to
use your microphone and camera.

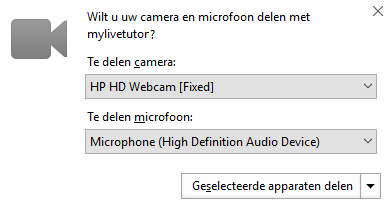
Click 'shared devices' to allow the classroom to use your microphone / camera. You can also choose 'Always share' from the drop down menu (share to the right of shared devices) if you always want to allow this page.
To change the settings of your microphone in Firefox (after you have given permission or not) click on the camera icon in the url bar:


Here you can set another microphone (if you have more than one on your computer) or still give permission to use your microphone or camera.